This is something that after seeing dagger and brush over at… https://daggerandbrush.wordpress.com I simply had to have a go at, this has happened before. I’ll see something he has done and I have to have a go at it, not to copy but to have a hand at things shown to me in his tutorials. I learn something each time it seems.
By now you will be thinking what the heck is he on about so to cut the shit as they say lets get some pics up!
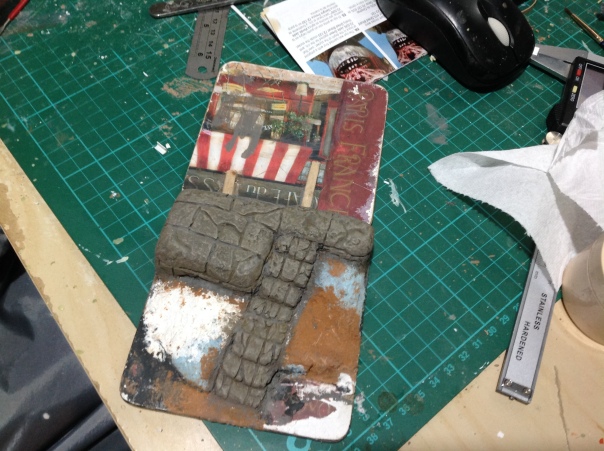
So I haven’t got very far yet, basically I roughed out a shape of the stairs I wanted to have a couple of levels. So the stairs climb once then a few of them are all one level then it climbs again, then I felt like another level using the bigger stones. As you can see I’ve used two drink coasters as the base nice and strong I can’t see them warping. I’m going to extend towards the back, not sure how far yet, I’m either going to build a cave entrance or a kind of small not sure if mausoleum is the right word. As this is supposed to be very old, I’m not sure if the kind of thing I’ve got in mind fits the time period.
As for the painting and texturing, I’ve used Ronseal multi purpose wood filler the one I used is medium colour, has a nice clay brown reddy sort of colour to it. I carved in some grooves and cracks e.t.c, the best way seems to be to gently score with the scalpel, then widen with needle tools or hooked picks that you find in dental tool sets, the set I have is labelled as wax carving tools.
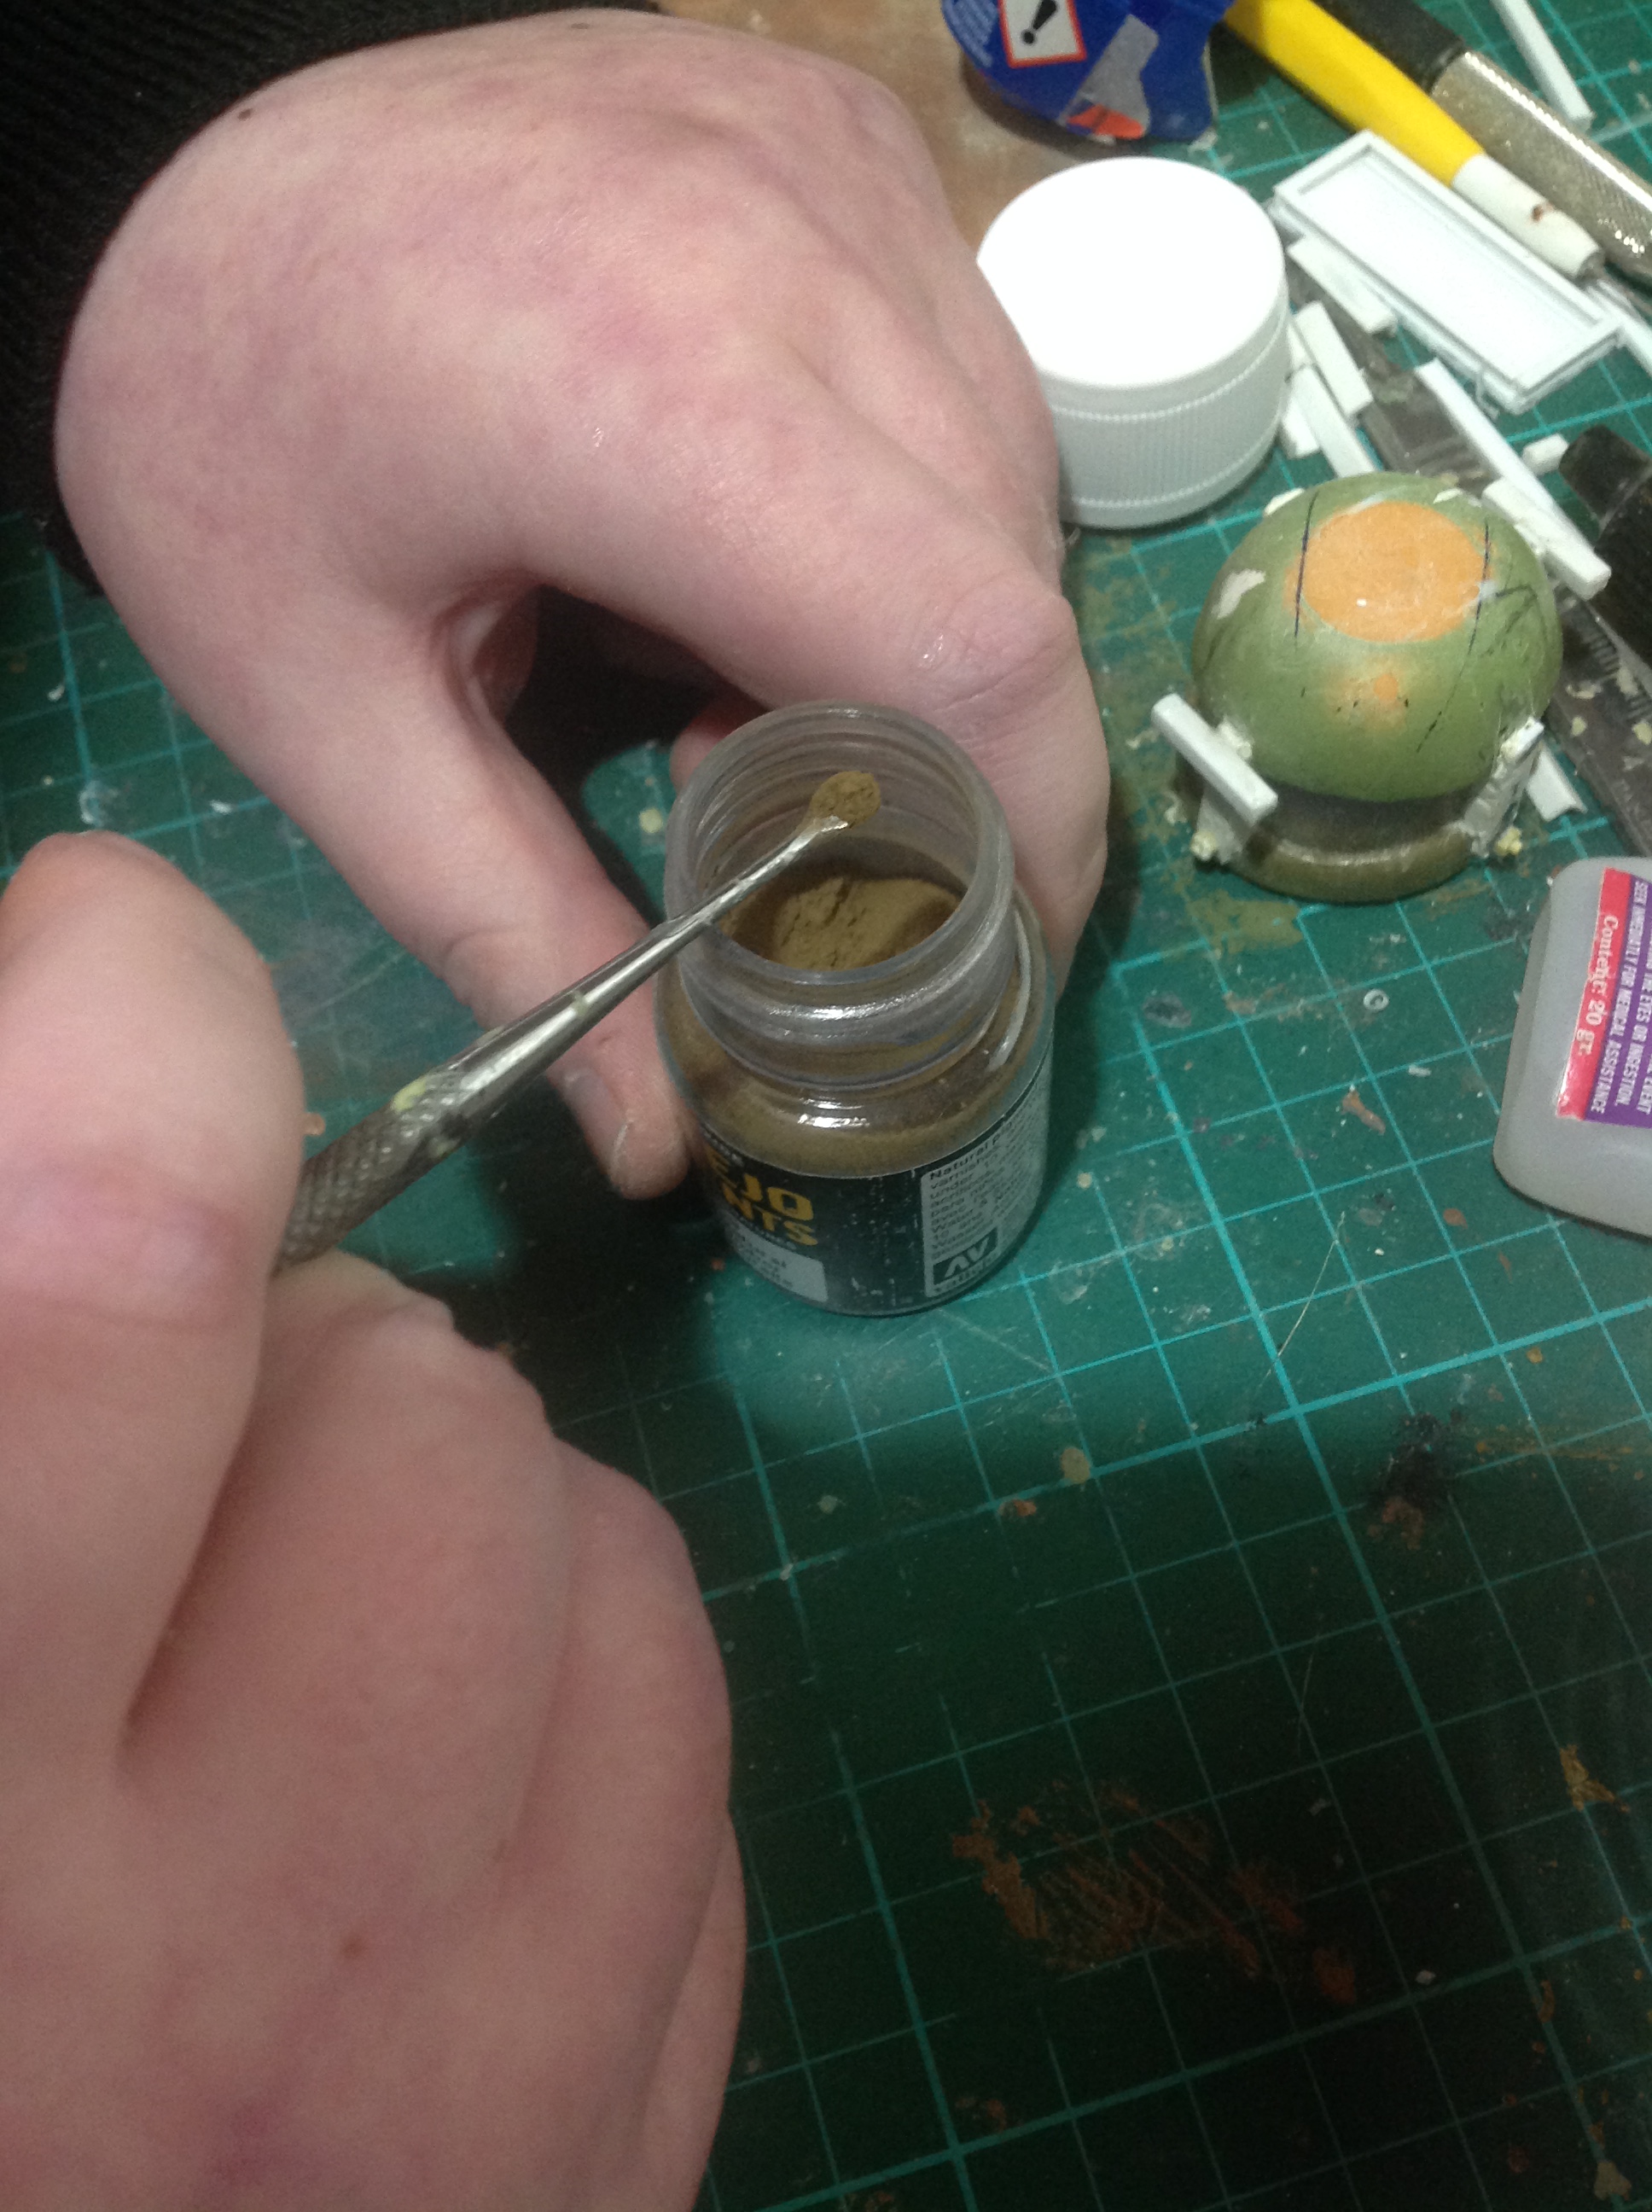
Then it was mix a nice grey brown, I started with a colour that seemed to be pretty much halfway between white and black, then added in Vallejo beige brown a 60/40 split mostly grey. So base colour on I added Vallejo air colour sand (ivory) to the base colour in the wet palette, and dry brushed the whole lot. Then I added even more sand colour, and dry brushed again. In the end I think I dry brushed 4 times getting lighter each turn, already this brings out the texture and highlights and shadows as far as the base coat.
Things at this point can still seem a bit shiney and plastic, but don’t worry about this we will fix this later. The next part will address this somewhat, this involves a sprinkle of pigment (Vallejo natural umber), a couple of drops of water or as in my case two drops of Vallejo airbrush thinner and one drop of matt varnish. I decanted my airbrush thinner into a eyedropper Vallejo style bottle, on first attempt I found it to be a bit too full on this may have worked well for something really muddy but that wasn’t what I was after. Next attempt I put a bit less pigment in and an extra drop of thinner.
I made a few batches of this wash, you may be better doing it enough quantity to cover your whole pieces/area in one go for better consistency. Maybe try a test batch on something it doesn’t matter if it goes all wrong, I found at first it looks all glossy like you put too much on. I was tempted to wipe it all off, but I let it all dry out to make sure, I had mostly got it right and only had to strip and restart one of the items. I gave them a very gentle drybrush very similar shade to fourth drybrush I did maybe a touch darker. Much of the shiny plastic look had now gone, I think I am going to use Vallejo smoke to darken the gaps between the stones and the cracks etc. Smoke is one of the transparent paints they do, however unthinned it is very strong and near opaque, but it also has a grittyness to it. Unthinned it may be great to build up for a rust texture and with the kind of dirty brown it would really fit into a rust colour scheme.
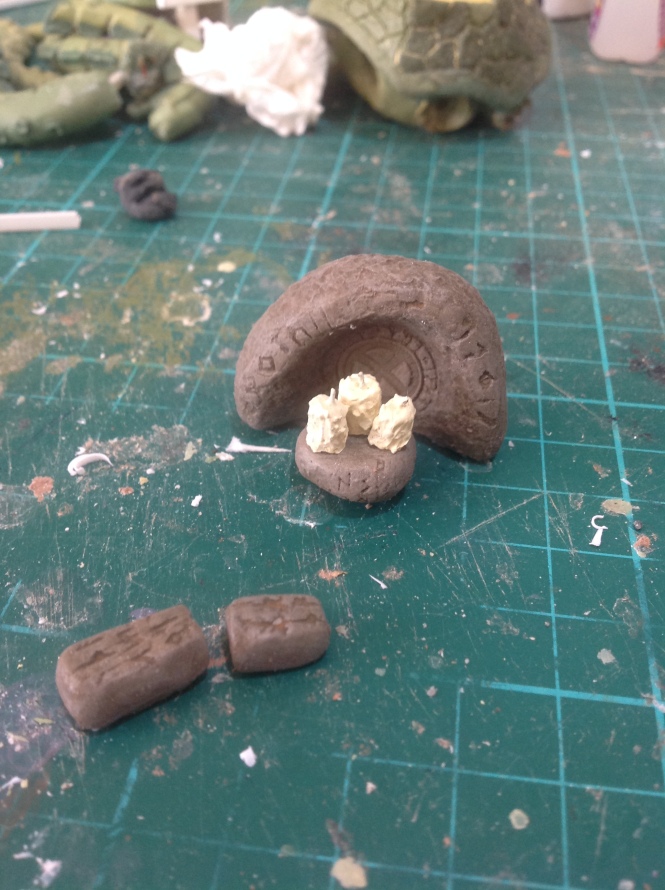
Here are a few of the items that will dress the scene, for tips on how to make the candles check out this link… https://daggerandbrush.wordpress.com/2014/04/26/crypt-of-the-damned-a-soul-shattering-tutorial-part-iii/
These were painted the same way as the stairs and higher level large stones, however since no wood filler was used and they have a much more smooth shape. Dry brushing is not quite as effective, I avoided the wood filler because I wanted the runes to be quite sharp and prominent. For the two sections of the broken pillar type thing, I mixed up some standard milliput and made a sort of solid thing to shape green stuff on top of. For the simple reason milliput is far cheaper and sets like rock so no flex at all, the other two pieces were made from blue foam and green stuff on top.
I found for the markings and patterns on the larger thing, were easier to deal with if after pressing them into the green stuff let them harden a bit before removing from the rolling pin. Prevents them from getting warped or having fingerprints pressed into them, I then covered over the blue foam covered the gaps. I also heavily stipled on liquid green stuff, but only on the larger item. Gives more texture for the dry brushing to be more effective, I was more fussy with this item as it will all be visible well mostly. The other 3 a large part of them will just blend into the other terrain, I will still use Vallejo slimy grime light weathering effect to depict light moss growth, I’ve never done this before so I will test it on something first. Also I will make a moss paste see dagger and brushes site again for tips on that… https://daggerandbrush.wordpress.com/2014/04/16/crypt-of-the-damned-a-soul-shattering-tutorial-part-ii/ I’m not sure where exactly this piece will go after I have done the moss paste, light moss growth and using the smoke in the cracks and gaps in the stones, I guess I can make a part two to show progress when I make it.

Looks already very promising. I love derelict places. Romance and eerie atmosphere go hand in hand in such places, may that be in the real world or on the table top.
Using coasters as basing material is an excellent idea. After all they are made to be water resistant, have a standardized size and are thus modular.
I think the candles look good so far. When you mounted it all a bit of acrylic medium can be used to depict wax running down the plinth.
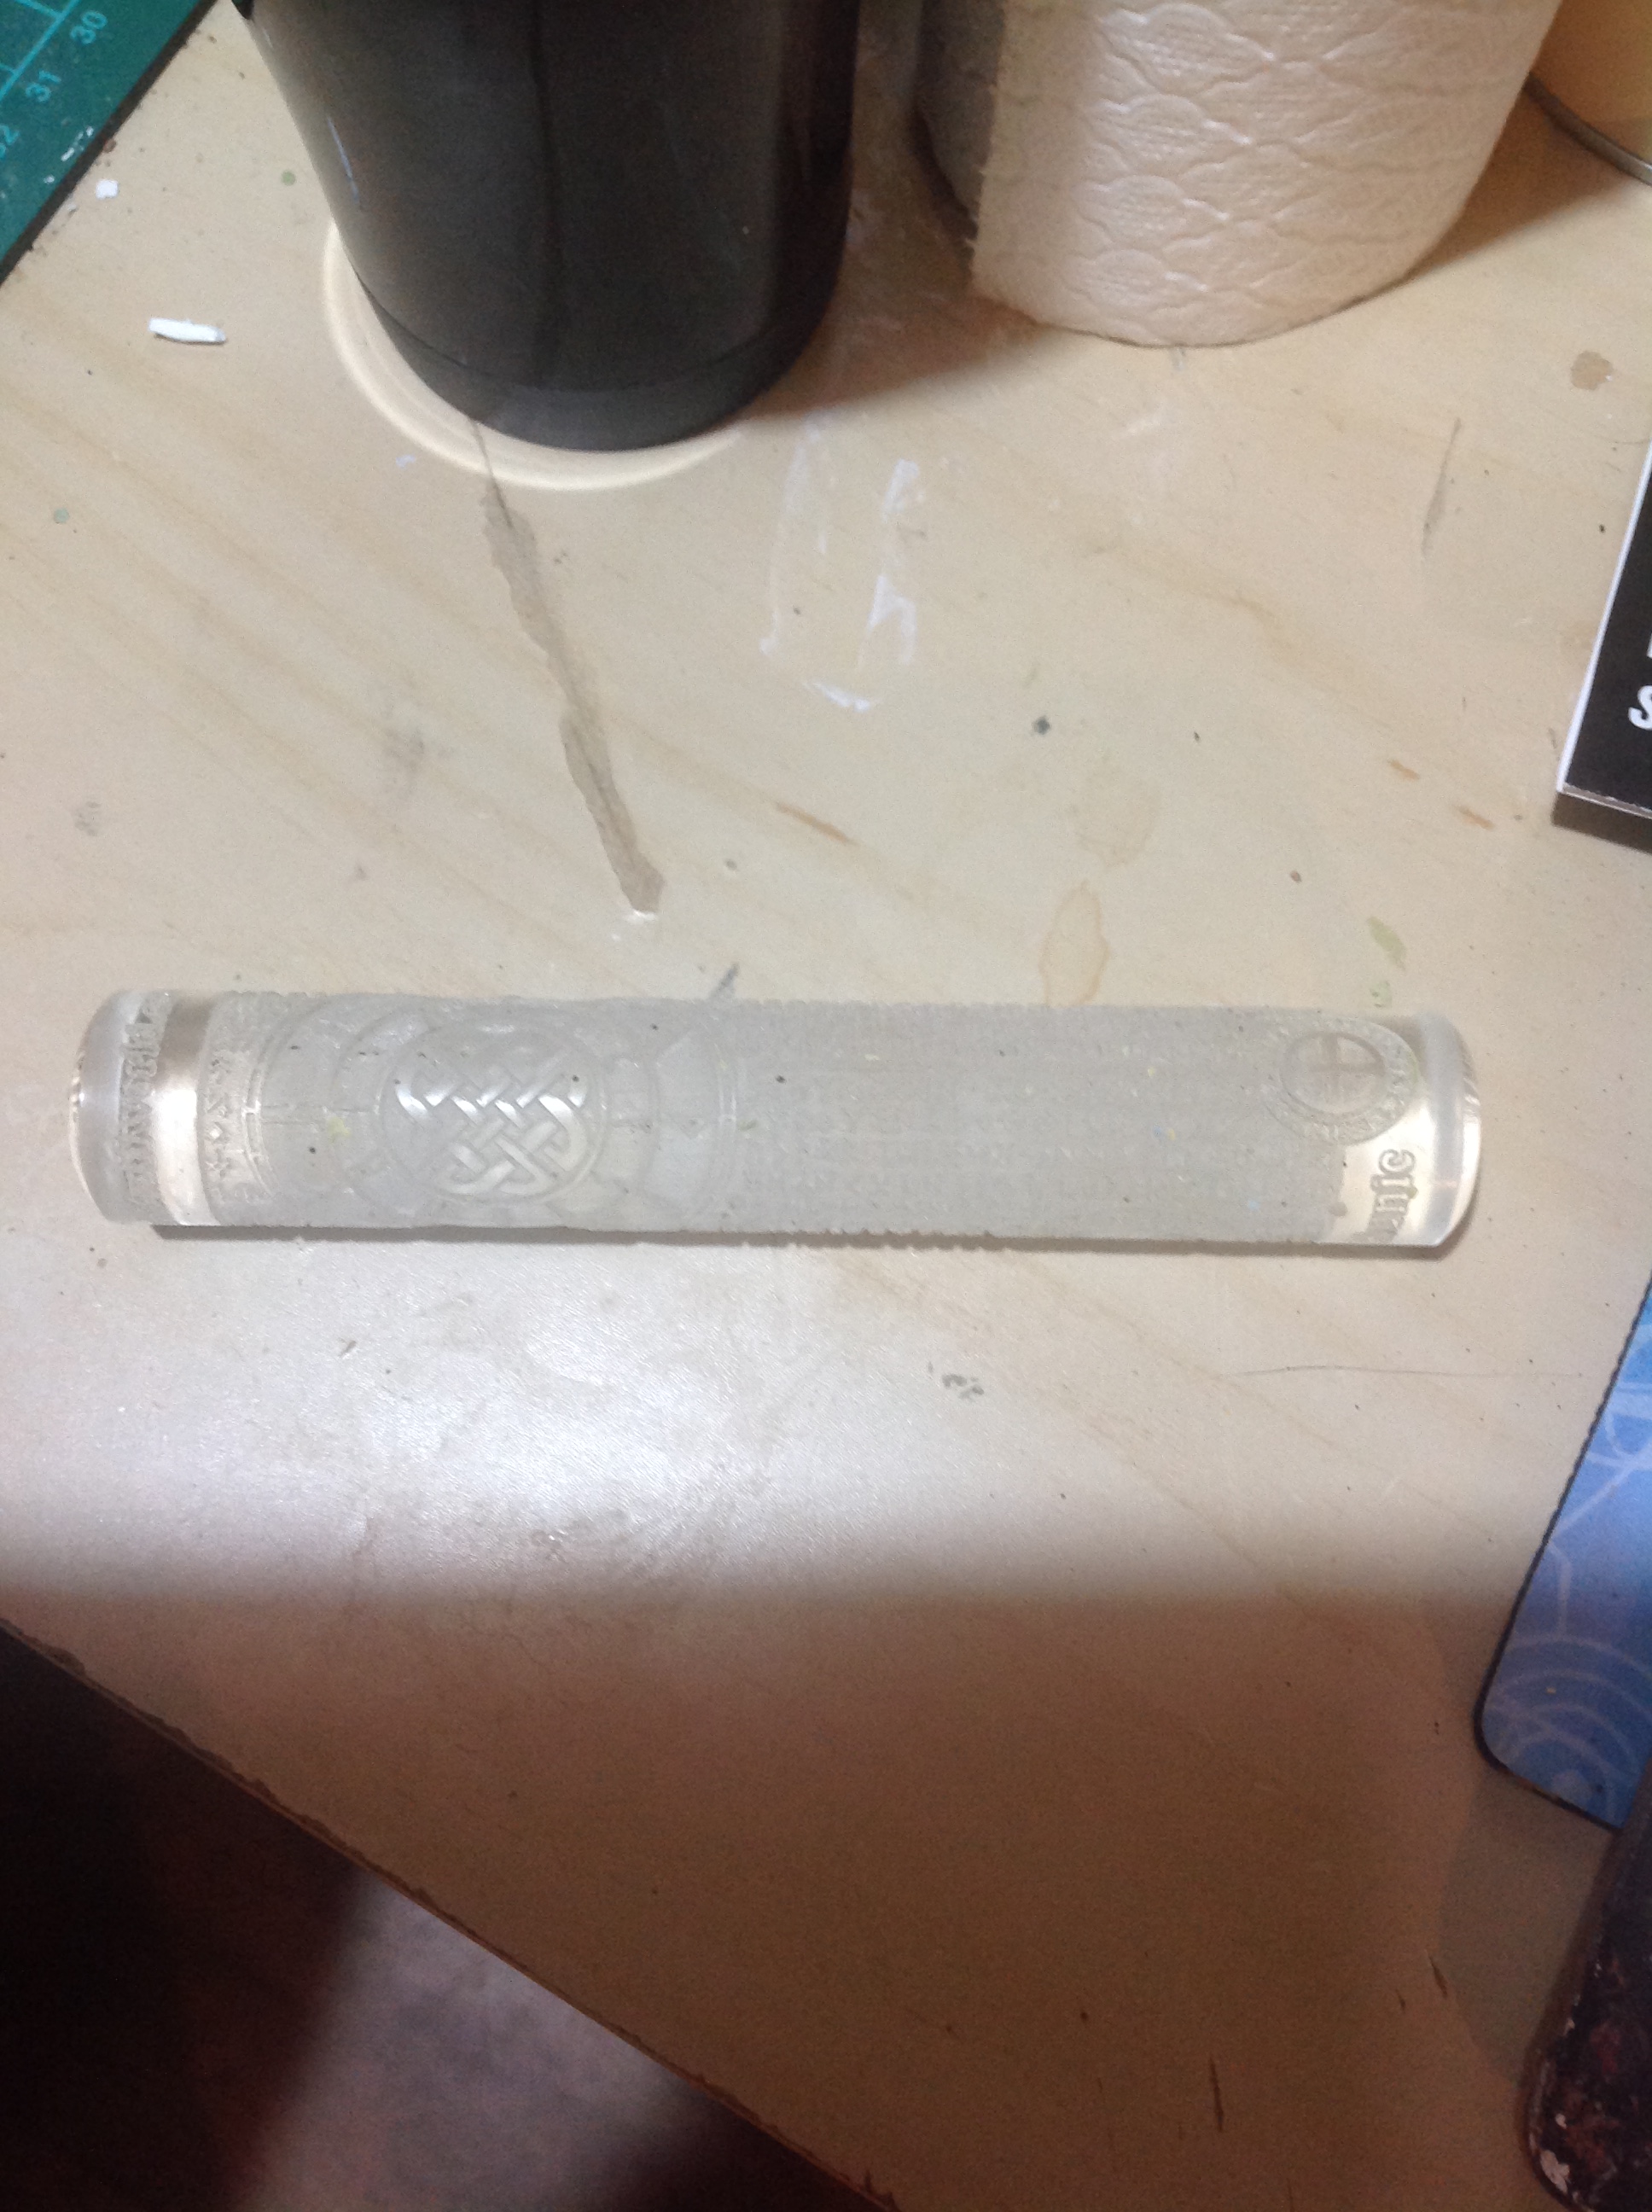
I also like your use of the pin roll. Seems the coated surface takes designs very well! Has already a Skyrim flavour to it.
Looking forward to see how this develops.
LikeLike
I would think skyrim has been subconsciously inspiring me along the way on some level, I did play it a fair bit.
What do you think of the photographs under my daylight bulb? at first when I wasn’t use to it it seemed strange suddenly things popped out more.
Also I’m not sure about the colour the stones have ended up I tried to judge it against yours but that’s hard to do on computer monitors they don’t all display colours the same way, nor are they all calibrated the same.P.s thanks for the feedback and compliment 🙂
LikeLike
I think the stone tone looks good and shows subtle differences in grey and brown shades used.
I am not a fan of overtly highlighted stone, it doesn’t look naturalistic to me, so to me it looks good.
That said, depending if you mostly game/present stuff indoors you may need to adjust the contrast levels for specific light conditions. My stuff looks different under a warm tone bulb for instance. I mainly try to make it look good in daylight as I prefer to game close to a window or well lit environment.
The bottom line is, if you like it, it is good :). I feel in our hobby it is mostly about what an individual enjoys. I enjoy naturalistic stuff, other really like abstract, very simple set-ups to leave room for your own mental image, others look for practical designs to place large unit trays etc.
That makes the hobby such a nice one: A hundred ways to do stuff, no ‘true’ or ‘right; way of doing anything. 🙂
LikeLike
I haven’t had to worry about if it works in the gaming setting or how it might look under different lights. I was hoping for subtle but still not too subtle I added smoke to the gaps but then I put thinner on it and wiped some away. I was not sure if I had gone too far. I also did it on the cracks on the stairs then I was not sure if I should.
LikeLike
I would always thin the smoke quite a bit. Then you can build it up and gradually change the contrast.
LikeLike
yeah too little is easy to fix, too much is a swine
LikeLike